What Happens When Silicone Glue Turns to Stone?
Imagine applying a bead of silicone sealant, waiting a few minutes, and watching it solidify into a rock‑hard block. It’s a frustrating surprise that many DIYers face. This phenomenon isn’t magic—it’s chemistry, temperature, and application technique converging in a way that forces the cured silicone to behave like stone.
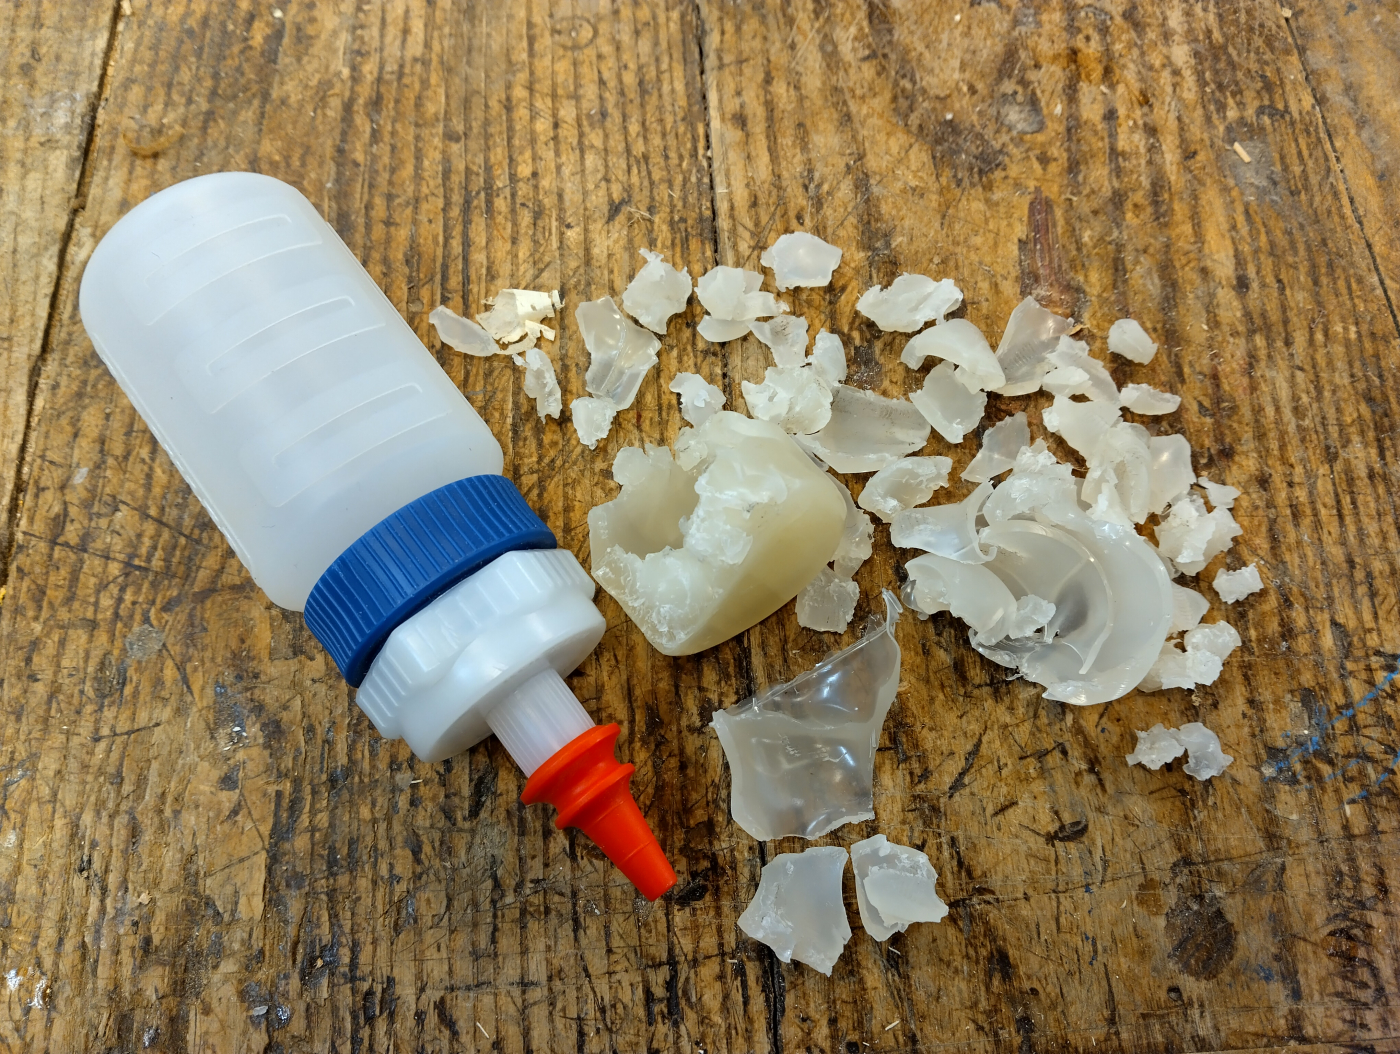
Why Does Silicone Harden So Fast?
Silicone sealants are polymer‑based materials that cure through a process called cross‑linking. When exposed to moisture (air humidity or water), the polymer chains link together, forming a rubber‑like elastic network. Several factors can accelerate this reaction, turning the flexible sealant into a rigid, stone‑like mass:
- Low ambient humidity – In very dry conditions, the silicone may cure via an alternative pathway called addition cure, which creates a denser network.
- High temperature – Heat speeds up the chemical reaction, shortening the cure time dramatically.
- Thick application layers – The interior of a thick bead traps moisture, forcing the outer layers to cure faster and lock the core into a rigid state.
- Incorrect product type – Some “neutral cure” silicones are designed for high‑strength bonds and will naturally become harder than typical bathroom sealants.
How to Identify the Right Silicone for Your Project
Choosing the correct sealant prevents the stone‑like outcome. Look for these key labels on the packaging:
- Acetoxy (acid‑cure) – Best for bathrooms and kitchens; cures fast but can emit a vinegar smell.
- Neutral‑cure (oxime or alkoxy) – Ideal for metals, glass, and where a non‑corrosive bond is needed.
- High‑performance (RTV) silicone – Designed for automotive or industrial uses; often harder after cure.
For most home repairs, a flexible, 100% silicone rated for “weather‑proof” applications will stay supple.
Step‑by‑Step: Preventing the Stone Effect
1. Prepare the Surface
- Clean with isopropyl alcohol to remove oils.
- Ensure the joint is dry; moisture trapped under the sealant can cause uneven curing.
2. Apply Thin, Even Beads
- Use a caulking gun set to a smooth, continuous flow.
- Target a bead thickness of 2‑3 mm; thicker layers are prone to hard spots.
3. Control the Environment
- Work in temperatures between 50–80 °F (10–27 °C).
- If the room is very dry, place a humidifier nearby for 30 minutes.
- Avoid direct sunlight or heaters on the fresh silicone.
4. Allow Proper Curing Time
- Most silicone sealants need 24 hours to reach full flexibility.
- Resist the urge to touch or paint until the manufacturer’s cure time has passed.
What to Do If Your Glue Is Already Stone‑Hard
When the silicone has cured too rigidly, you can still salvage the project:
- Score and slice with a utility knife or a silicone cutter, then gently pry the pieces apart.
- Use a silicone remover (available at hardware stores) to soften the bond; apply, let sit 10‑15 minutes, then scrape.
- Replace with a flexible sealant for areas that require movement, such as expansion joints.
Key Takeaways
- Silicone turns to stone when temperature, humidity, or layer thickness accelerate cross‑linking.
- Select the appropriate cure type for your material and environment.
- Apply thin, even beads and control ambient conditions to keep the sealant flexible.
- If you’re stuck with a hard cure, score, soften, or replace the sealant.
By understanding the chemistry behind silicone and following these practical steps, you’ll keep your sealants elastic, waterproof, and ready for any project.
Comments are closed, but trackbacks and pingbacks are open.