Introduction: The Unexpected Power Source
When you think of renewable energy, solar panels and wind turbines probably come to mind. But what if a mischievous kid turned a humble hamster wheel into a tiny power plant? Meet the young evil genius who forces his furry sidekick to spin, generating enough electricity to power his futuristic gadgets. This off‑beat experiment blends creativity, basic physics, and a dash of villainy—perfect for beginner makers looking for a fun, low‑cost project.
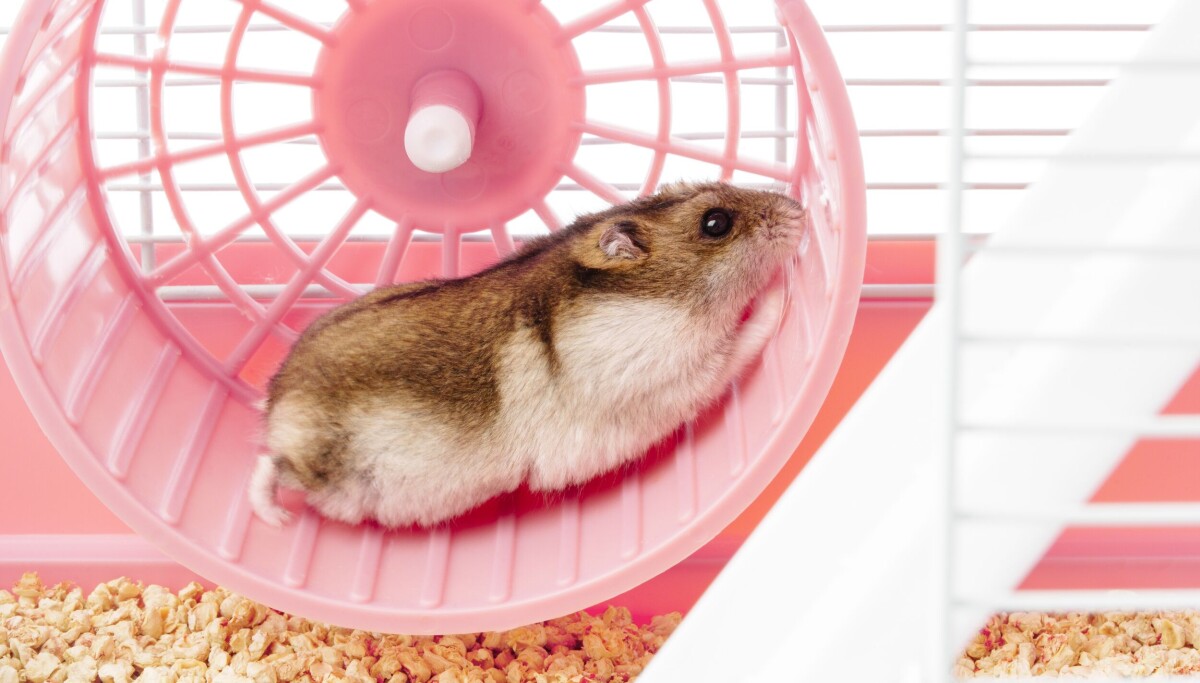
Why a Hamster Wheel?
Hamsters are natural “spinners.” Their instinct to run in circles can be harnessed into mechanical motion, which, with the right gear ratio, becomes usable electricity. The advantages are simple:
- Low cost: A basic wheel and a few electronic components cost under $20.
- Compact: Fits on a desk, perfect for small labs or bedroom workshops.
- Educational: Demonstrates kinetic to electrical energy conversion.
Core Components
1. The Wheel
Choose a sturdy wheel with low friction bearings. A 12‑inch plastic wheel works well for most hamsters. Ensure the axle is accessible for attaching a small gear or pulley.
2. Drive Mechanism
Connect the wheel to a DC generator or a permanent‑magnet motor used as a generator. A simple belt or a 3D‑printed gear set can increase torque and raise voltage.
3>Voltage Regulator
Hamster‑driven generators output a fluctuating voltage (typically 0.5‑2 V). A LM7805 regulator or a USB boost converter smooths the output to a steady 5 V, suitable for most gadgets.
4>Energy Storage
Attach a small Li‑ion or NiMH battery pack to store surplus energy. This ensures the gadgets stay powered even when the hamster takes a break.
Step‑by‑Step Build Guide
- Mount the wheel: Secure the hamster wheel on a sturdy base, leaving the axle free.
- Attach the generator: Fix the DC generator to the base, aligning its shaft with the wheel’s axle using a pulley belt.
- Wire the circuit: Connect the generator leads to the voltage regulator, then to the battery pack.
- Test the output: Use a multimeter to check voltage while the hamster runs. Adjust the gear ratio if needed.
- Plug in your gadget: Connect a low‑power device—LED strip, mini fan, or Arduino board—to the 5 V output.
Powering Popular Gadgets
With a stable 5 V supply, the possibilities are surprisingly wide:
- LED night lamp: 10 mA per LED—instant glow.
- Arduino prototypes: Run sensors, servos, or display modules.
- Miniature fans: Keep the hamster cool while it works.
Remember: keep the total current draw below the generator’s capacity (usually under 200 mA) to avoid overloading the hamster.
Safety & Ethics Considerations
While the concept sounds entertaining, animal welfare matters:
- Provide a spare wheel so the hamster can rest.
- Limit run time to 15‑20 minutes per session.
- Monitor the hamster for signs of fatigue or stress.
- Never force the animal; the wheel should be a voluntary activity.
For those uncomfortable with live animals, a hand‑crank generator can simulate the same principle without ethical concerns.
Conclusion: Turning Mischief Into Learning
Even an "evil genius" can teach valuable lessons about energy conversion, electronics, and responsible tinkering. By harnessing a hamster’s natural urge to run, you create a low‑tech, high‑fun power source that fuels small gadgets and sparks curiosity. Just remember to keep the hamster happy, the voltage steady, and the projects simple—then you’ll have a running lab that’s both quirky and educational.
Comments are closed, but trackbacks and pingbacks are open.